Hey everyone, hope you’re having an incredible day today. Today, I will show you a way to make a distinctive dish, homemade soy milk & okara. One of my favorites. This time, I will make it a little bit unique. This will be really delicious.
Homemade soy milk is a great alternative to cow's milk. Soy milk is a delicious and healthy alternative to cow's milk. You can find it at pretty much any supermarket and is so inexpensive, but homemade soy milk is much better than store-bought Homemade soy milk requires only soybeans and water plus a blender and a few other common cooking tools. There's no need to run out to buy a soy milk making machine.
Homemade Soy Milk & Okara is one of the most favored of recent trending meals in the world. It is easy, it’s fast, it tastes yummy. It is appreciated by millions daily. They’re nice and they look fantastic. Homemade Soy Milk & Okara is something that I’ve loved my whole life.
To begin with this recipe, we have to prepare a few components. You can have homemade soy milk & okara using 1 ingredients and 13 steps. Here is how you can achieve it.
The ingredients needed to make Homemade Soy Milk & Okara:
- Make ready 200 ml Soy beans
Make sure to keep the soy milk from sticking to the bottom of the pot. Place soy beans in a very large bowl. The difference between Homemade Soy Milk and other non-dairy nut milks is that you have to heat up the soy milk to rid it of the beany smell and taste. The homemade soy milk makes a refreshing change from soy milk bought from supermarkets and health food stores.
Instructions to make Homemade Soy Milk & Okara:
- Rinse the soy beans, then soak in 6 cups of water overnight. The beans will soak up the water and become plump.
- Discard the top layer of water.
- This is how it should look after discarding the top layer of water.
- Process the 600 ml of soy beans and soaking water in a blender or food processor. If the blades of the blender are not moving properly, add water.
- It should look like this after processing.
- Transfer to a large pot. Add 6-7 cups (1200-1400 ml) of water, then bring to a boil over medium heat. It will boil over if covered, so do not cover the pot.
- To prevent scalding, stir with a spatula from time to time. When it comes to a boil, reduce to low to medium heat, then simmer for 20 minutes. Occasionally skim off the scum from the top.
- Remove from heat, then strain to separate the soy pulp from the soy milk.
- If using a cheese cloth to strain, it's easy to scald yourself, so wait until it cools before straining.
- I tested straining both with a cheese cloth and with a strainer, and surprisingly, it didn't make much difference. I find it easier to use a strainer.
- If using a strainer, I recommend using one that you can press the bottom of a ladle into to help squeeze out the soy milk.
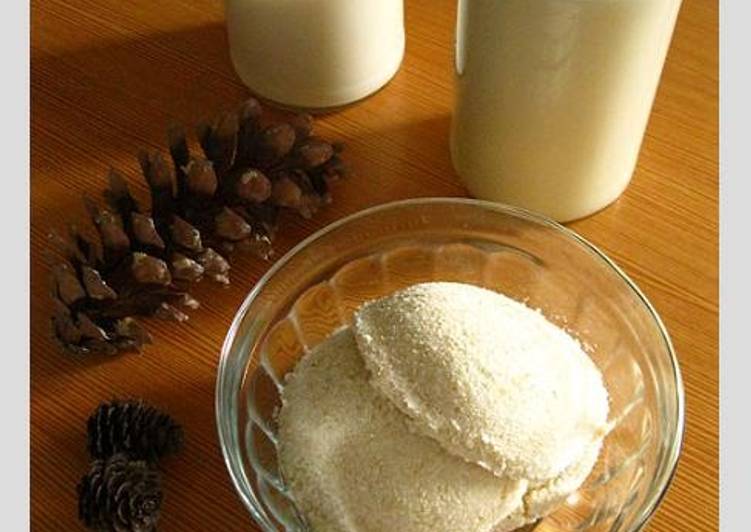
- This recipe yielded about 8 cups of soy milk (1.6 L) and about 2.5 cups of okara.
- If it's difficult to sterilize the jars at once, use jars that are sterilized by boiling in water or rinsed with boiling water. Store the soy milk and okara in the refrigerator.
The difference between Homemade Soy Milk and other non-dairy nut milks is that you have to heat up the soy milk to rid it of the beany smell and taste. The homemade soy milk makes a refreshing change from soy milk bought from supermarkets and health food stores. Somehow it doesn't have that strange 'soya tang' that puts many people off - so can enjoyed by avowed 'soy milk' haters. Soy milk is often made in Korea to serve chilled, poured over cold noodles with a side of cucumber and a boiled egg. Return the soy milk to the pot and bring to a boil over medium-high heat, then reduce the heat to medium-low.
So that is going to wrap it up with this exceptional food homemade soy milk & okara recipe. Thanks so much for your time. I am sure you can make this at home. There’s gonna be more interesting food at home recipes coming up. Don’t forget to save this page in your browser, and share it to your family, friends and colleague. Thanks again for reading. Go on get cooking!